Stationary Bike Installation Services Overview
Visitors will learn about local service providers who install stationary bikes and how to compare options for their installation needs.
- - Residential property owners seeking professional stationary bike installation services.
- - Fitness centers and gyms looking to connect with local contractors for equipment setup.
- - Commercial spaces requiring expert installation of stationary bikes for employee wellness programs.
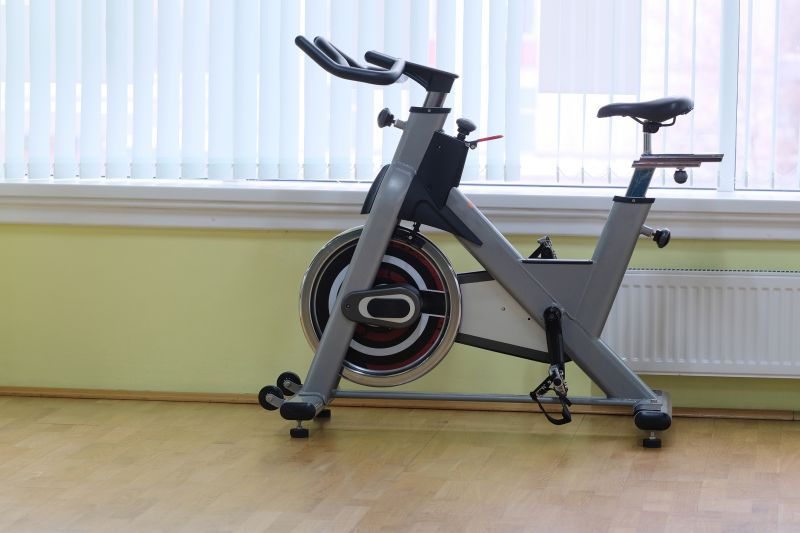
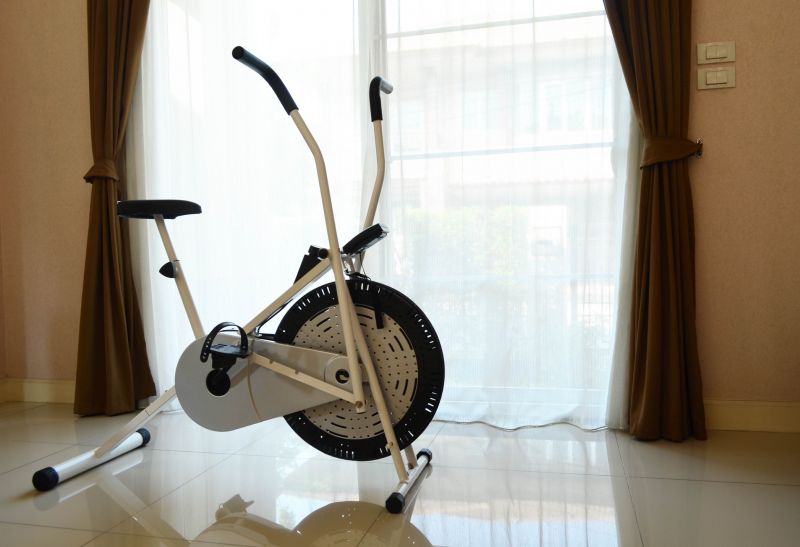
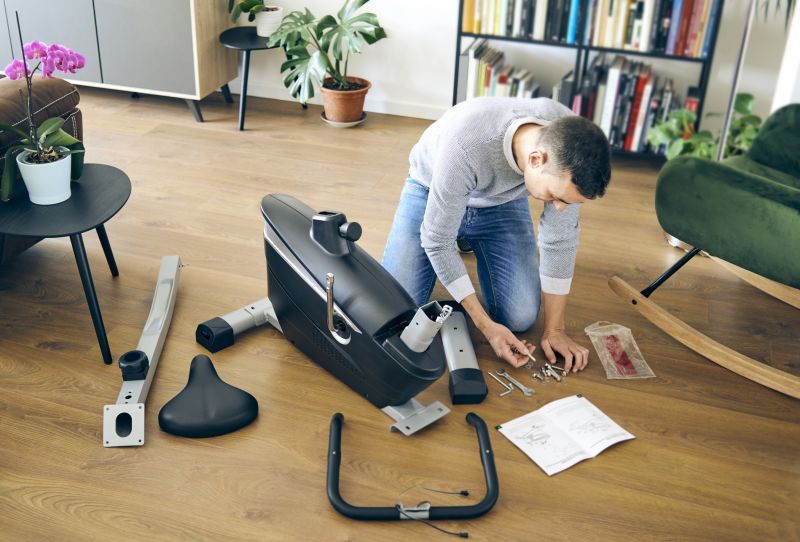
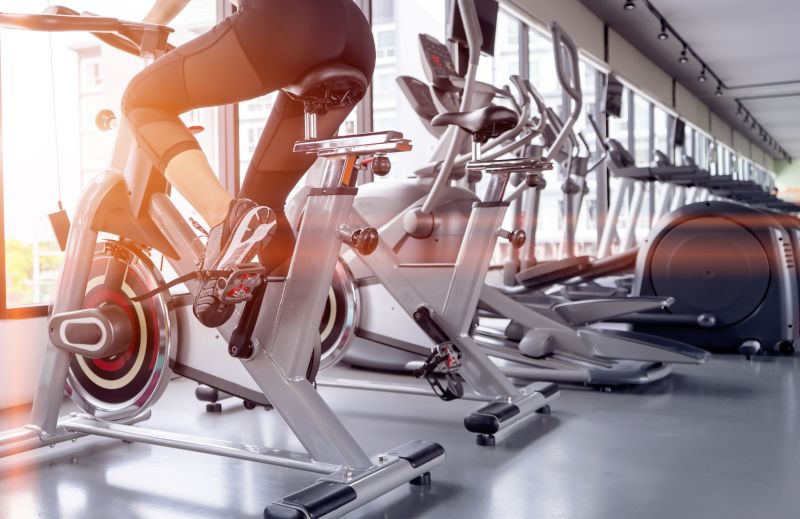
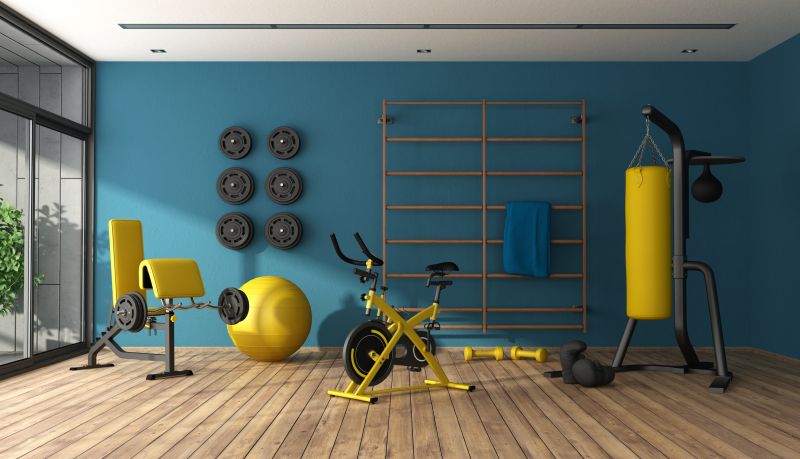
Stationary bike installation services involve setting up exercise equipment in homes or fitness spaces, ensuring that bikes are properly assembled, secured, and ready for use. Property owners often seek assistance when purchasing new stationary bikes or upgrading existing setups, especially if they want to ensure safety and stability. Local contractors and service providers specializing in this work typically handle tasks such as assembling the equipment, anchoring it securely to the floor or wall if necessary, and making adjustments for optimal performance. These professionals are familiar with different models and can help ensure that the installation meets the specific needs of each space.
When searching for stationary bike installation, property owners can connect with local pros who offer these services in their area. These service providers often work with a variety of fitness equipment and can handle installations in residential or commercial settings. Customers can expect straightforward, practical assistance from experienced local contractors who understand the requirements of proper setup. This helps ensure that the stationary bike is installed safely and functions correctly, providing a reliable workout experience.
This guide provides helpful information to compare and connect with local contractors who install stationary bikes. It explains key factors to consider when planning the installation process. The goal is to assist in understanding options and preparing to discuss your project with nearby service providers.